Outdoor furnishings that are cozy and stable are also expensive and unaffordable at the same time! Outdoor furniture consumers are having these higher rates and prices on their brains all the time and always try to sort out some alternative to approach the outdoor furnishings in a way that will not cause a big load on their wallet! If you are also one of the persons addicted to outdoor and are really worry about the overpriced outdoor furniture set then DIY has amazing offers here to meet your expected furniture desires!
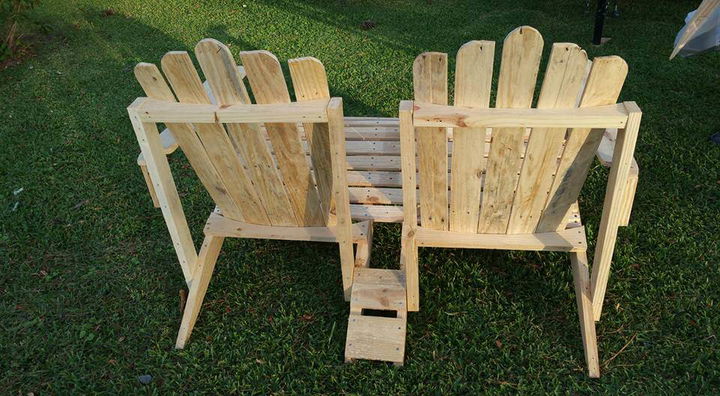
Get your hands onto this DIY pallet Adirondack bench by messing a little bit with pallets physically! The construction is not very difficult not very easy it is somewhere in between however, a little planning can make your get with amazing results! To let you avoid any inconvenience, some construction steps has provided which are sure to work for you as a total guide! This double chair or Adirondack bench would work great for 2 women, 2 men and for a couple sitting purposes!
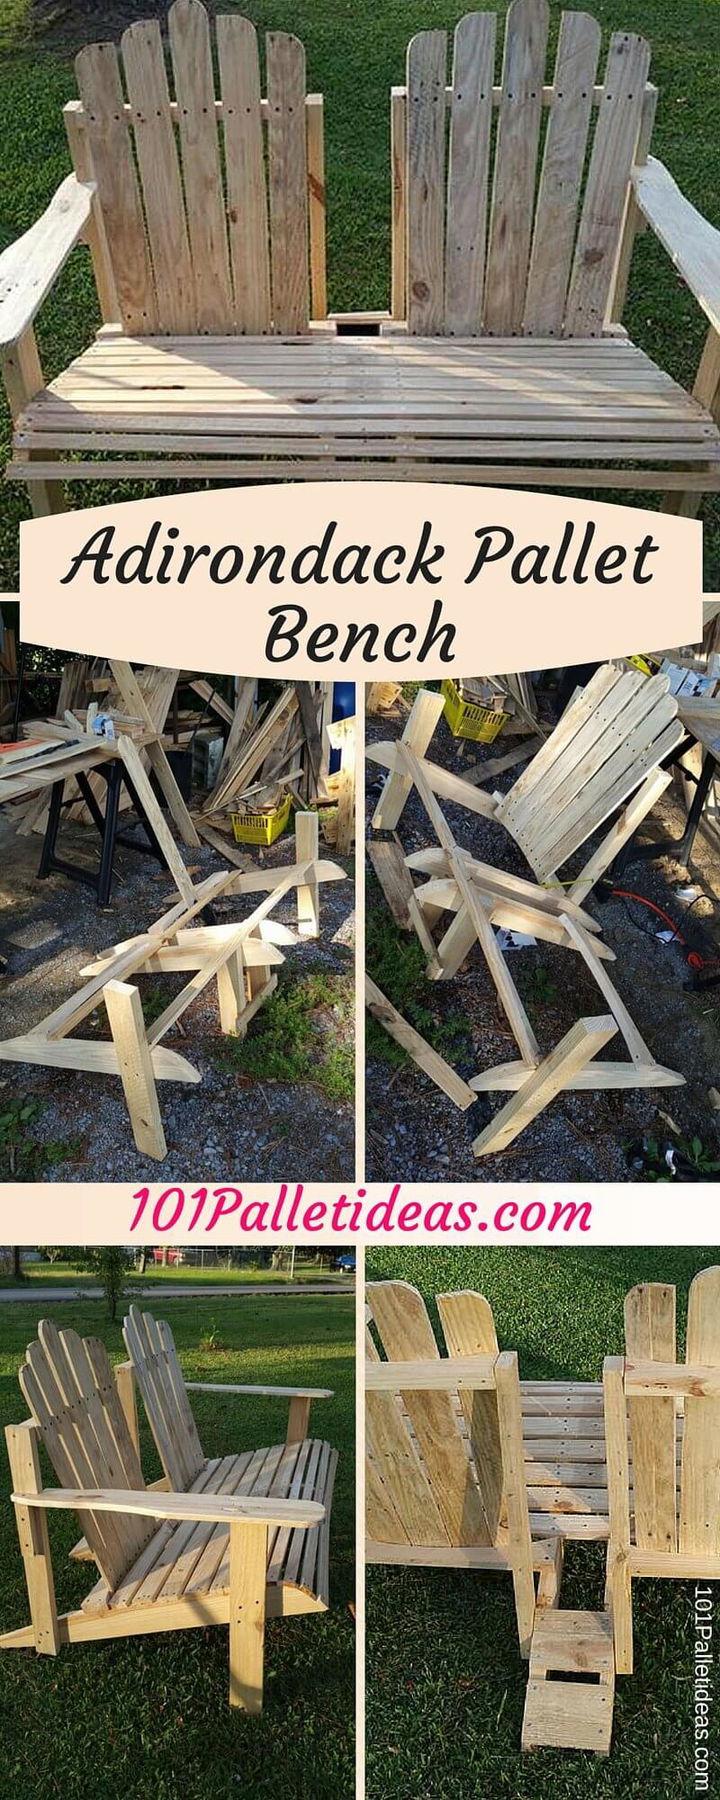
How to Make Adirondack Chair Bench?
First, grab your pallets and dismantle them which you need: So follow steps and Instructions with Supplies.
Supplies:
- Pallets (Where to Get Pallets for Free?)
- Sawzall (Sawzall for Dismantle Pallets Wood)
- Jig Saw
- Nails
- Screws
- Leveling Tool
- Glue
- Sander or Sandpaper
- Paint (optional)
- Stain (optional)
- Sealer (optional)
- Carving Tools or Router (to create rounded edges)
- Measuring Tape
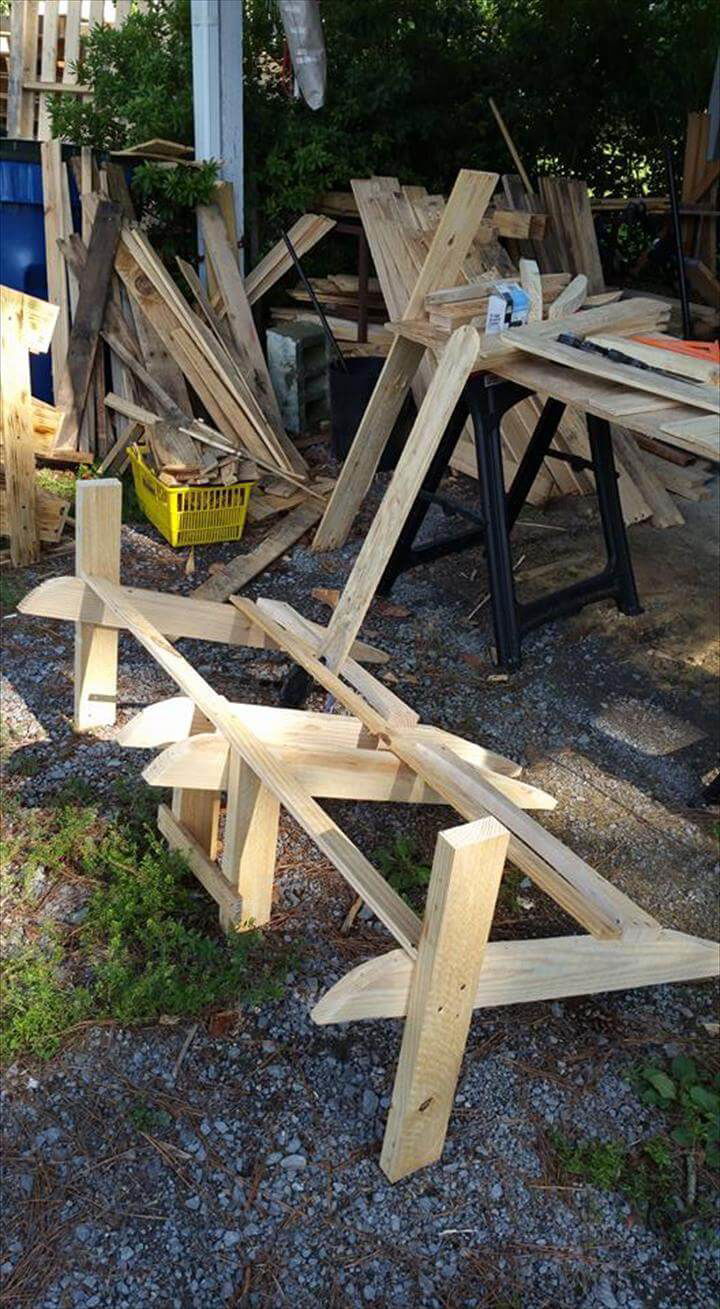
Plan up the sloped base section first and here 4 modified pallet slats with rounded edges like a fish, has been supported at appointed locations through a fully engineered network or base skeleton! Legs and additional wooden lengths have been slated for a balanced base of the bench!
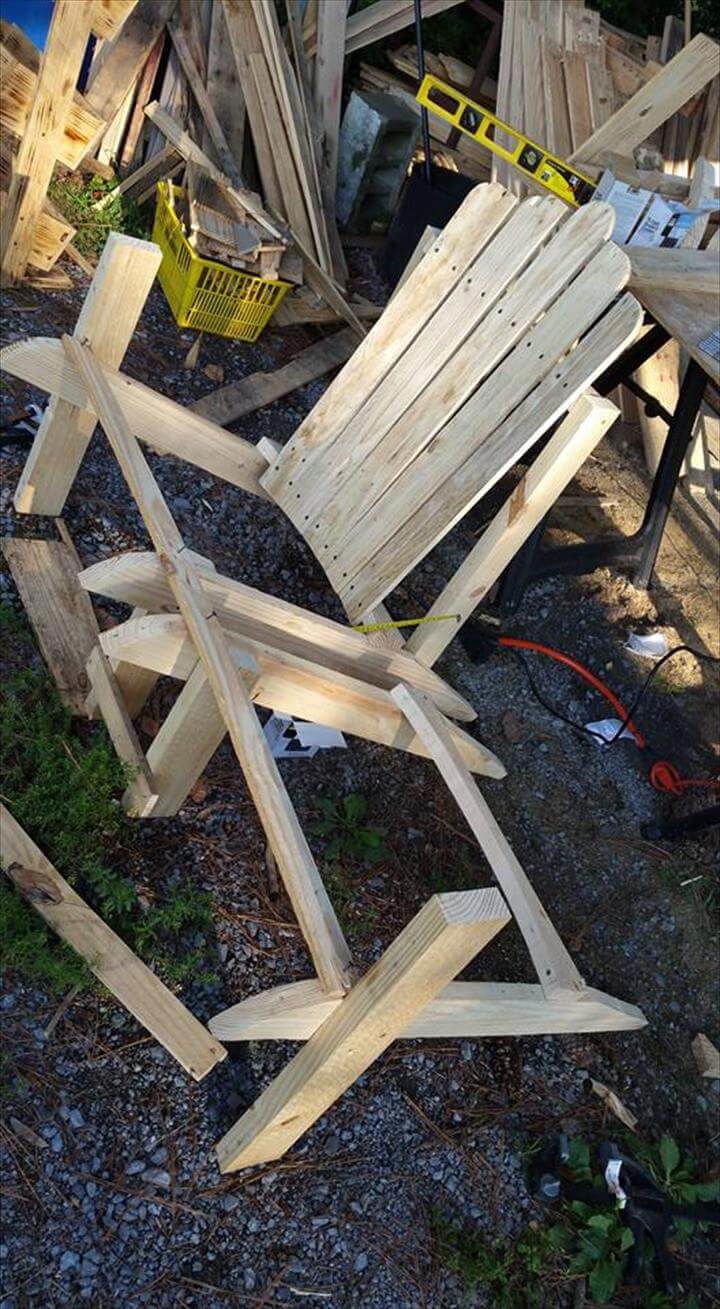
Using appropriate cutting and carving wood tools you can get the rounded edges that have dominant impact on overall beauty of the bench! Only front legs have been provided while the 4 fish like slats just touch the ground with their back edges for a bend down demonstration of sitting section! After getting the base, just install the backrest positions by installed rounded edges planks one by one!
A set of 5 planks with rounded edges has been used to fabricate each berth section! while think wooden lengths have been slated over the base supports for a wrapped and tilted berth section!

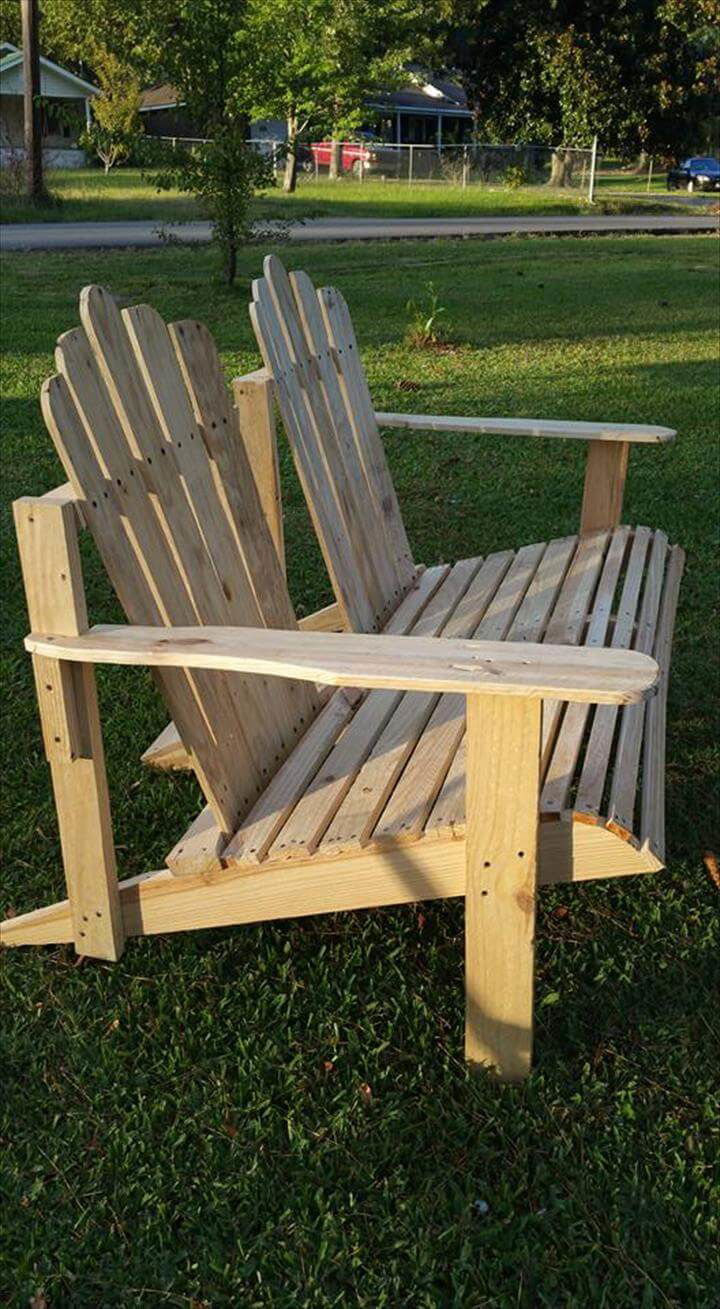
Palm the electrical sander and sand all the targeted edges and surfaces that should be well cleaned, lustrous and splinter free! Take a review and add the resting nails if needed and also trim the excess of edges if found any!
Backrest position are to support a whole weight of your back and in case of tilted sitting position they should be stronger enough to handle almost half of your weight! That’s why extra wooden supports have been provided to backrest position to avoid any damage or collapsing of the whole design! Do layer the glue where needed to meet the promised adhesive demands of the bench!

Armrest position have also been added to make the seated personages more comfortable and as per demand of the Adirondack style! To add some colors paint may be an awesome choice however some clear coats can also be given to enjoy this natural wooden tone with more luster and sparkle!
Last Step:
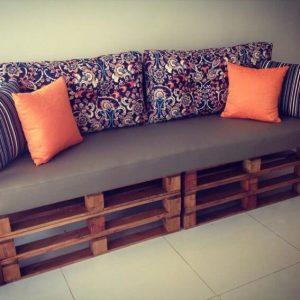
How to Make Pallet Sofa?
And inspired yourself with pallet wood creations.
Ideas of Unique Pallet Sofas:
Related Pallet Ideas to Try:
 Outdoor Pallet Bench!! Tutorial
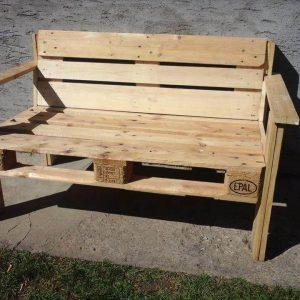
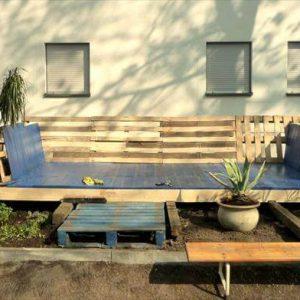
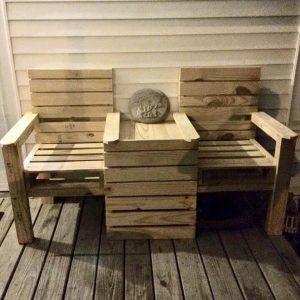 Wood Pallet Outdoor Bench – Double Chair!
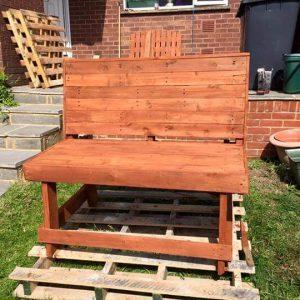
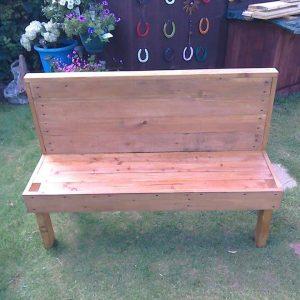
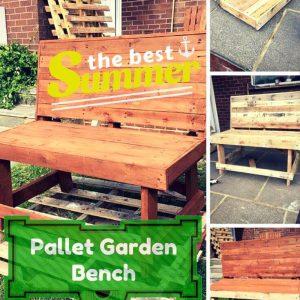 DIY Pallet Garden Bench – Brick Red Stained
 D.I.Y Pallet Bench
 DIY Park or Garden Bench Made of Pallets
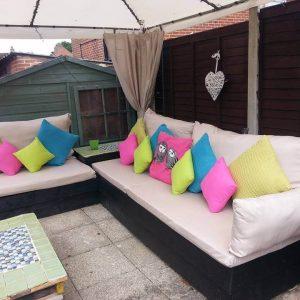
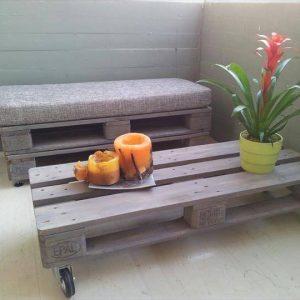 Pallet Cushioned Bench and Coffee Table
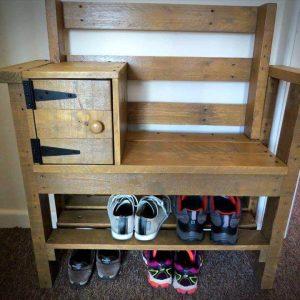 Pallet Bench with Storage and Shoe Rack
 Pallet Patio Furniture Ideas – DIY Garden Set
 DIY Pallet Deck Furniture to Rock your Outdoor
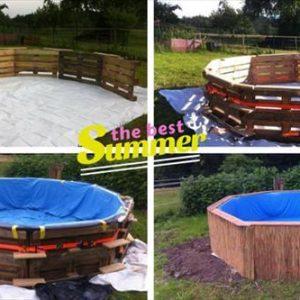 DIY Pallet Swimming Pool – Tutorial
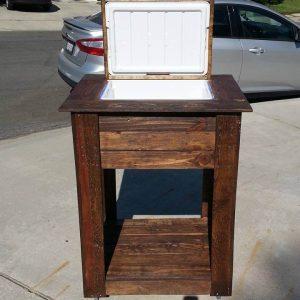 DIY Pallet Cooler – Full Tutorial
 30 DIY Pallet Ideas for Your Home